W116 Exterior Door Handle Removal and Release Adjustment
Chassis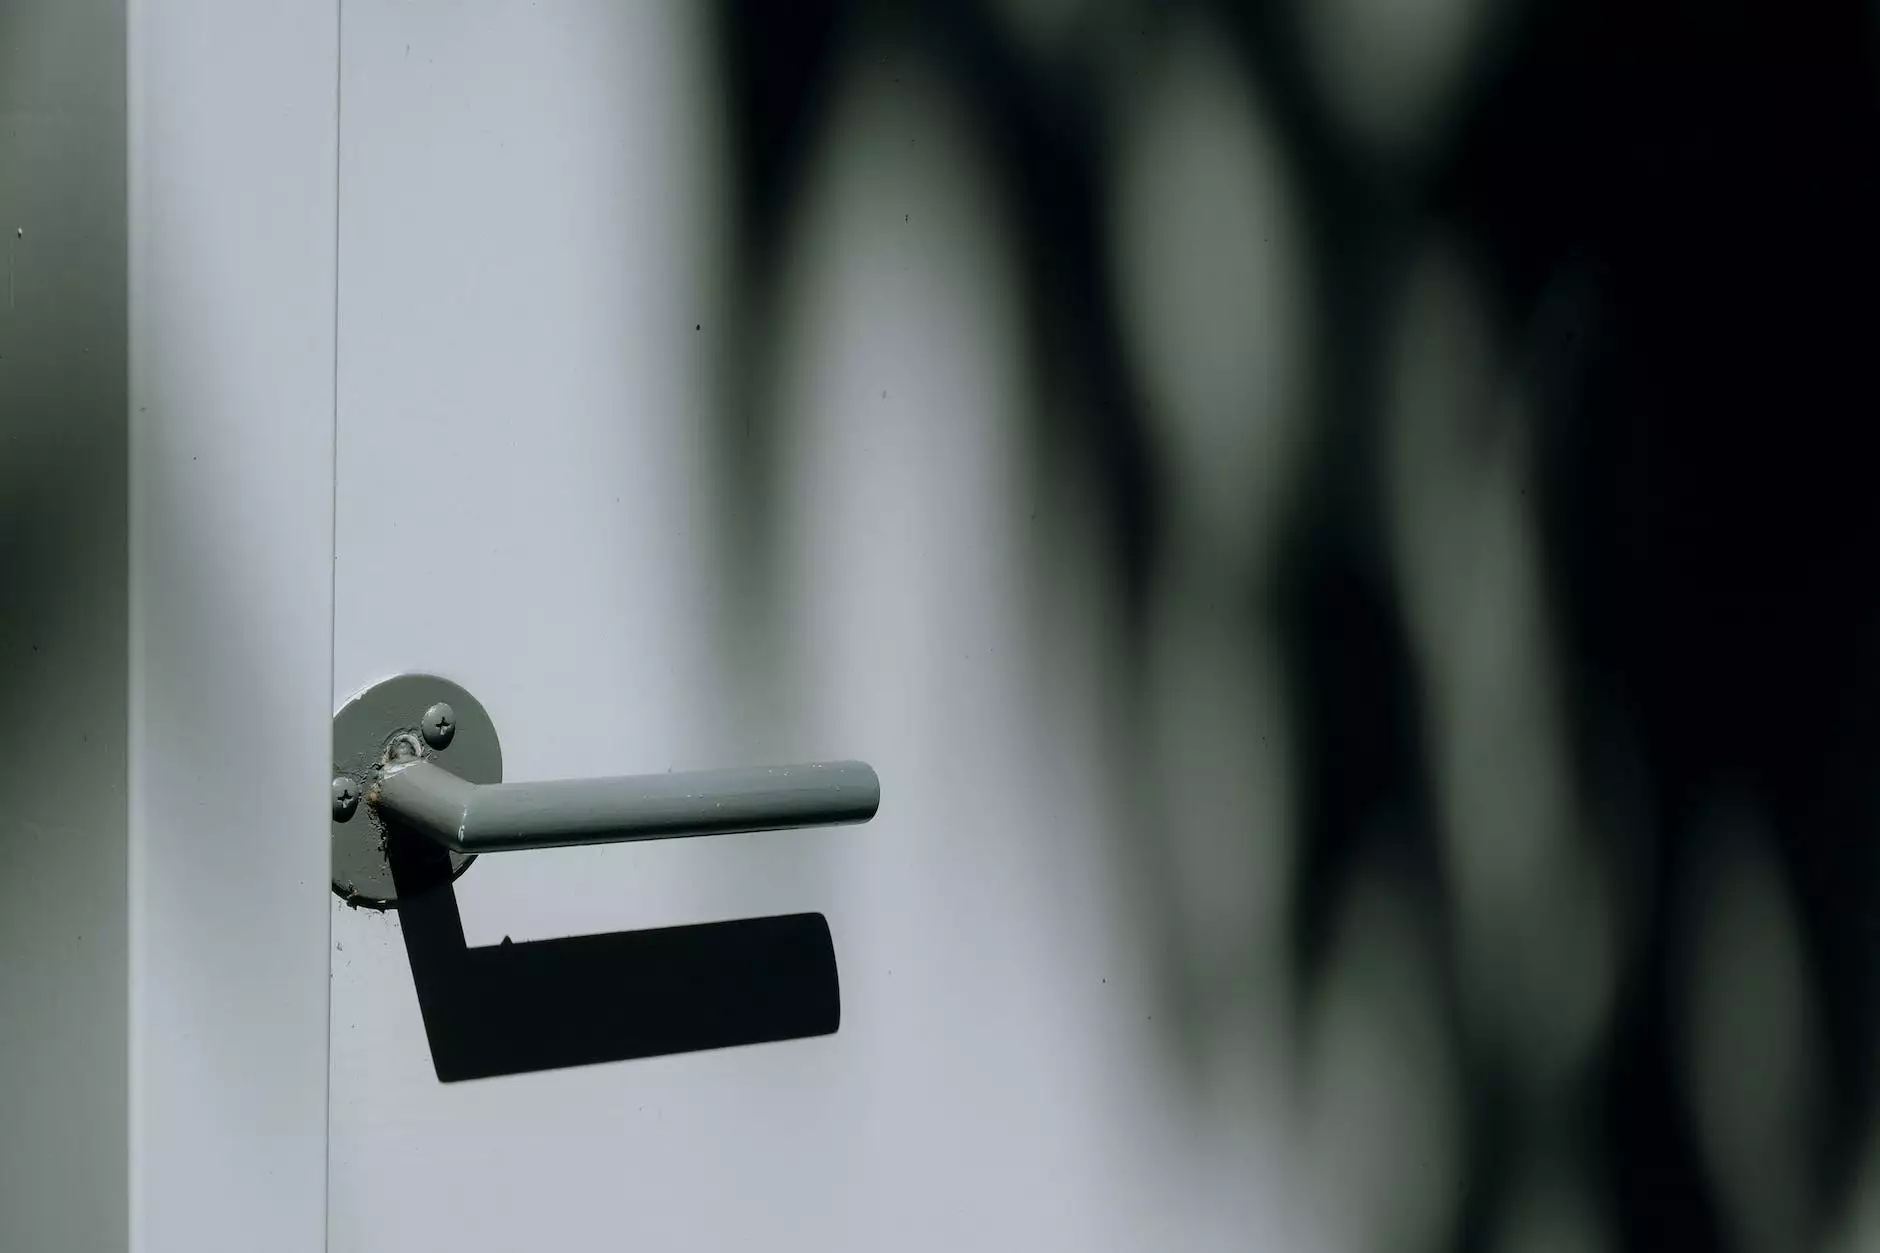
Introduction
At Grafco Electric, we understand the importance of maintaining your W116 vehicle. In this comprehensive guide, we will provide you with step-by-step instructions on removing and adjusting the exterior door handle of your vehicle. Regular maintenance and adjustments are crucial to ensure the smooth operation of your door handle and enhance overall vehicle functionality.
Why is Exterior Door Handle Maintenance Important?
Your vehicle's exterior door handle is one of the most frequently used components. Over time, it may experience wear and tear due to constant use and exposure to various weather conditions. Proper maintenance and regular adjustments are necessary to prevent potential issues like handle misalignment, sticking, or difficulty in opening and closing the door.
Step-by-Step Guide to Removing the Exterior Door Handle
Follow these detailed steps to remove the exterior door handle of your W116 vehicle:
- Gather the Necessary Tools: Before you begin, ensure you have the required tools such as a flat-head screwdriver, a wrench, and a lubricant.
- Locate the Exterior Door Handle: Identify the position of the exterior door handle. It is usually situated on the outer surface of the door, allowing you to open and close it.
- Disconnect the Door Handle: Carefully detach any connecting rods or cables attached to the door handle. You may need to use a flat-head screwdriver or a wrench to accomplish this.
- Remove Screws: Locate and remove the screws that secure the door handle to the door panel. Keep them in a safe place for reinstallation later.
- Detach the Door Handle: Once the screws are removed, gently pull the door handle away from the door panel to detach it. Be cautious not to damage the surrounding components.
Step-by-Step Guide to Adjusting the Exterior Door Handle
If you're experiencing issues with your door handle's functionality, follow these steps to adjust the exterior door handle:
- Confirm the Alignment: Observe whether the door handle is misaligned or sticking compared to its default position.
- Inspect the Latch Mechanism: Check for any loose or worn components within the door handle's latch mechanism. Tighten or replace as necessary.
- Lubricate Moving Parts: Apply a suitable lubricant to the moving parts of the door handle, including the hinge and latch mechanism.
- Realign and Test: Gently realign the door handle to its original position. Ensure smooth operation by testing the handle's functionality.
- Secure and Reinstall: Once you are satisfied with the adjustments, securely reinstall the door handle by following the reverse steps of the removal process.
Why Choose Grafco Electric for Your W116 Exterior Door Handle Needs?
At Grafco Electric, we provide top-quality resources, including detailed video tutorials, to help you maintain and repair your W116 vehicle. When it comes to door handle removal and adjustment, our step-by-step guide ensures you have all the information necessary to successfully complete the task.
We understand the frustration that comes with door handle malfunctions. That's why we strive to offer comprehensive solutions that empower vehicle owners to take control of their maintenance needs. Our in-depth tutorials, accompanied by detailed explanations, enable you to make informed decisions and successfully complete the process.
Don't compromise the functionality of your W116 vehicle by neglecting exterior door handle maintenance. Trust Grafco Electric to provide you with the knowledge and resources needed to address any door handle-related issues effectively.
Remember, a well-maintained exterior door handle enhances not only the convenience of accessing your vehicle but also ensures the safety and security of you and your passengers.
Trust Grafco Electric for all your W116 exterior door handle needs and experience the difference in our commitment to excellence.