How to Open up and Clean Old Electrical Plugs

Welcome to Grafco Electric's comprehensive guide on opening up and cleaning old electrical plugs. As industry experts in electrical maintenance, we understand the importance of properly maintaining your electrical equipment to ensure its longevity and reliable performance. In this guide, we will provide you with step-by-step instructions on how to open up and clean your old electrical plugs effectively.
Why Should You Clean Old Electrical Plugs?
Old electrical plugs tend to accumulate dust, debris, and corrosion over time. This build-up can hinder their optimal functioning and lead to potential electrical hazards. By regularly cleaning your old electrical plugs, you can:
- Prevent electrical shorts and power disruptions
- Improve electrical connectivity and reduce voltage drops
- Extend the lifespan of your electrical plugs
- Maintain the safety and reliability of your electrical system
Step-by-Step Guide: Opening up and Cleaning Old Electrical Plugs
Step 1: Preparation
Before you begin the cleaning process, make sure to turn off the power supply to the area where the plugs are located. This will prevent any potential electrical accidents. Additionally, gather the following tools:
- Screwdriver set
- Isopropyl alcohol or electrical contact cleaner
- Clean, lint-free cloth
- Small soft-bristle brush
- Cotton swabs
Step 2: Remove the Plug Cover
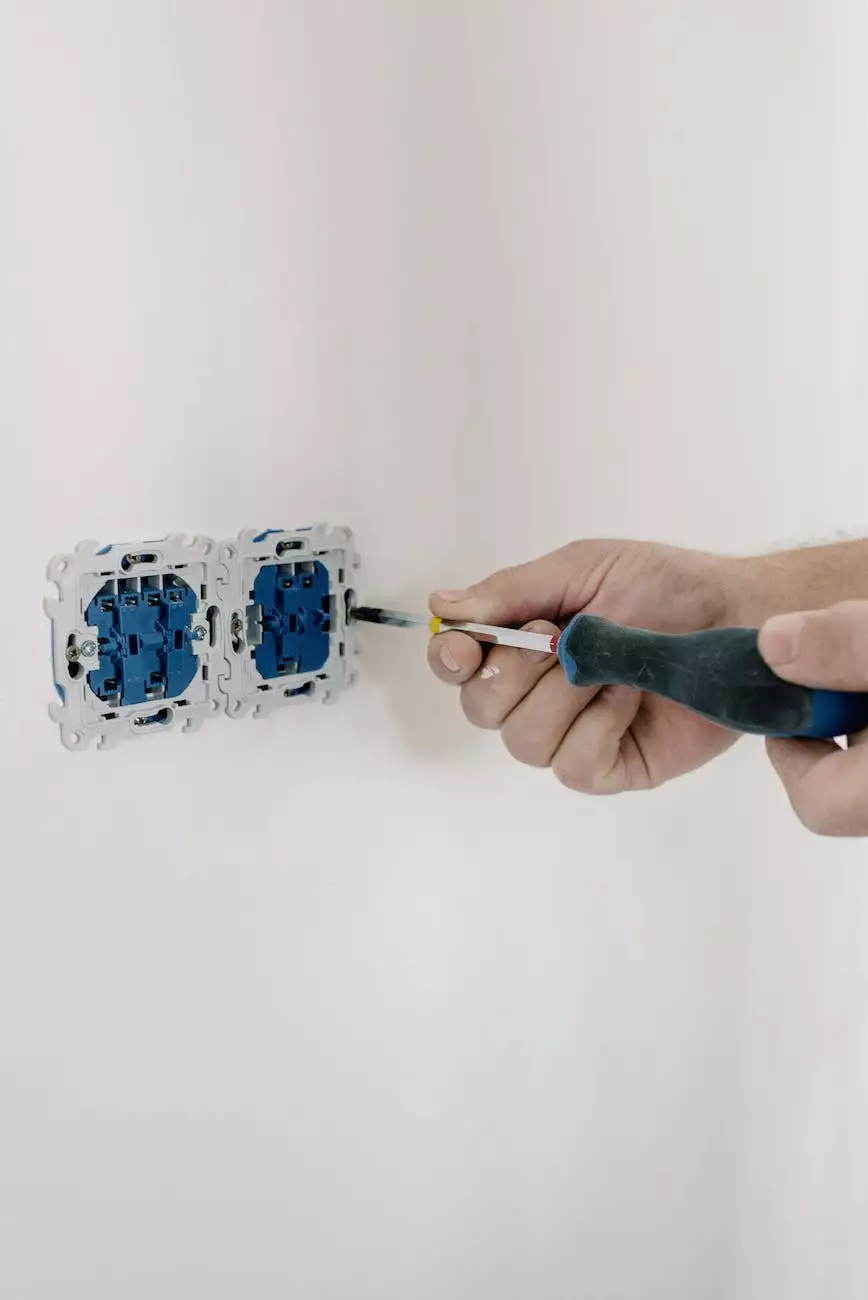
Using an appropriate screwdriver, carefully remove the screws holding the plug cover in place. Keep the screws in a safe location to avoid misplacing them. Once the cover is removed, you will have access to the inner components of the electrical plug.
Step 3: Cleaning the Plug Components
Inspect the plug components for any signs of dirt, dust, or corrosion. Using a clean, lint-free cloth or cotton swabs dipped in isopropyl alcohol or electrical contact cleaner, gently wipe the inner surfaces of the plug. Pay close attention to the contact points and ensure that they are free from any build-up.
If you encounter stubborn dirt or corrosion, use a small soft-bristle brush to scrub the affected areas. Be cautious not to apply excessive force that could damage the plug components.
Step 4: Reassemble the Plug
Once the cleaning process is complete, carefully reassemble the plug by securing the cover back in place with the screws you initially removed. Ensure that all the components fit properly and securely. Avoid tightening the screws too tightly, as this may damage the plug or affect its functionality.
Step 5: Test the Plug
After reassembling the plug, restore the power supply to the area and test the plug for proper functionality. Plug in an electrical device or use a tester to verify that the plug is working as expected.
If you notice any issues or the plug does not work correctly, it is recommended to consult a professional electrician to ensure the problem is addressed appropriately.
Tips for Preventing Future Build-up
To minimize the accumulation of dirt and debris in your electrical plugs, consider implementing the following preventive measures:
- Regularly dust and clean the surrounding area of the plugs
- Ensure proper ventilation to prevent excessive heat build-up
- Avoid using electrical plugs in damp or wet environments
- Keep your electrical plugs away from corrosive or chemical substances
- Inspect and maintain your electrical system regularly
Trust Grafco Electric for Your Electrical Maintenance Needs
At Grafco Electric, we are dedicated to providing top-quality electrical maintenance services that prioritize safety and performance. We understand the essential role electrical plugs play, and our experts are equipped with the knowledge and skills to offer reliable solutions.
Whether you require assistance with cleaning old electrical plugs or any other electrical maintenance services, our team is ready to help. Contact Grafco Electric today to schedule a consultation and experience the difference of working with industry professionals.


