The Comprehensive Guide to Growing Pumpikns: Tips for Gardeners
Growing pumpikns can be a delightful and rewarding endeavor for any gardener. Whether you are an avid horticulturist or a weekend gardening warrior, the satisfaction of nurturing these vibrant squashes from seed to harvest is unparalleled. In this detailed guide, we will explore everything you need to know about cultivating pumpikns, from soil preparation to harvesting, ensuring that you achieve a bountiful crop in your garden.
Understanding Pumpikns: Origins and Varieties
The term pumpikns, while it seems unconventional, refers to the beloved squashes that have captured hearts (and taste buds) worldwide. Their origins can be traced back thousands of years to North America, where Indigenous peoples cultivated various species for food and decoration.
Popular Varieties of Pumpikns
- California Big Moon: Known for its gigantic size, perfect for carving.
- Sugar Pie: A smaller variety prized for its sweet flesh, ideal for pies.
- Cinderella: Recognizable for its unique shape and deep orange hue.
- White Ghost: A strikingly beautiful white pumpikn, perfect for fall decorations.
Each variety has its own unique characteristics, making it essential to choose the right type based on your gardening goals and culinary desires.
Soil Preparation: The Foundation of Your Pumpikn Garden
The key to a successful garden lies in its soil health. For pumpikns, the soil should be rich in organic matter, well-drained, and have a pH level of 6.0 to 6.8. Here’s how to prepare the perfect soil:
Steps to Prepare Your Soil
- Select a location: Choose a spot that receives full sunlight for at least 6-8 hours a day.
- Clear the area: Remove weeds, rocks, and debris that may hinder growth.
- Add organic matter: Incorporate compost or well-rotted manure to boost soil fertility.
- Test soil pH: Use a soil test kit to ensure optimum pH levels for ideal growth.
A well-prepared garden bed not only fosters healthy pumpikns but also reduces the risk of diseases that can plague your plants.
Planting Your Pumpikns
Once your soil is ready, it’s time to plant your pumpikns. Understanding the planting process is crucial to achieving the best results.
Choosing the Right Time to Plant
The ideal time to plant pumpikns is after the last frost in spring when the soil temperature reaches at least 70°F (21°C). This typically falls between late April and early June in most regions.
Planting Techniques
- Seeds: Plant seeds 1 inch deep, spaced about 36-48 inches apart to allow for sprawling vines.
- Seedlings: If you’re planting seedlings, make sure they’re hardened off before transferring them outdoors.
Consider planting in hills or mounds to enhance drainage and increase the warmth of the soil, which encourages rapid growth.
Watering and Fertilizing Your Pumpikns
Proper irrigation and nutrition are critical in the early growth stages and throughout the life cycle of pumpikns. Here’s how to keep your plants thriving:
Watering Guidelines
Pumpikns require a consistent level of moisture, especially as they begin to grow. Here are some tips for effective watering:
- Frequency: Water deeply once a week, adjusting for rainfall and temperature.
- Method: Use soaker hoses or drip irrigation to minimize water on the leaves, reducing disease risk.
Fertilizing Your Pumpikns
Applying the right fertilizer can significantly enhance growth and fruit development. Consider the following:
- Before planting: Mix a balanced fertilizer into the soil at planting time.
- During growth: Side-dress with a nitrogen-rich fertilizer when vines start to spread.
Pest and Disease Management for Pumpikns
Like any crop, pumpikns can be susceptible to a variety of pests and diseases. Proactive management strategies are vital for a healthy harvest.
Common Pests
- Squash Bugs: These can be controlled by removing adults and using insecticidal soap.
- Powdery Mildew: Prevent this fungal disease through proper air circulation and ensuring plants aren’t overcrowded.
Organic Pest Control Methods
Utilize organic pesticides and natural predators to keep your garden healthy. Here are some effective techniques:
- Companion planting: Plant marigolds or nasturtiums to deter pests.
- Handpicking: Regularly check for and remove problematic insects.
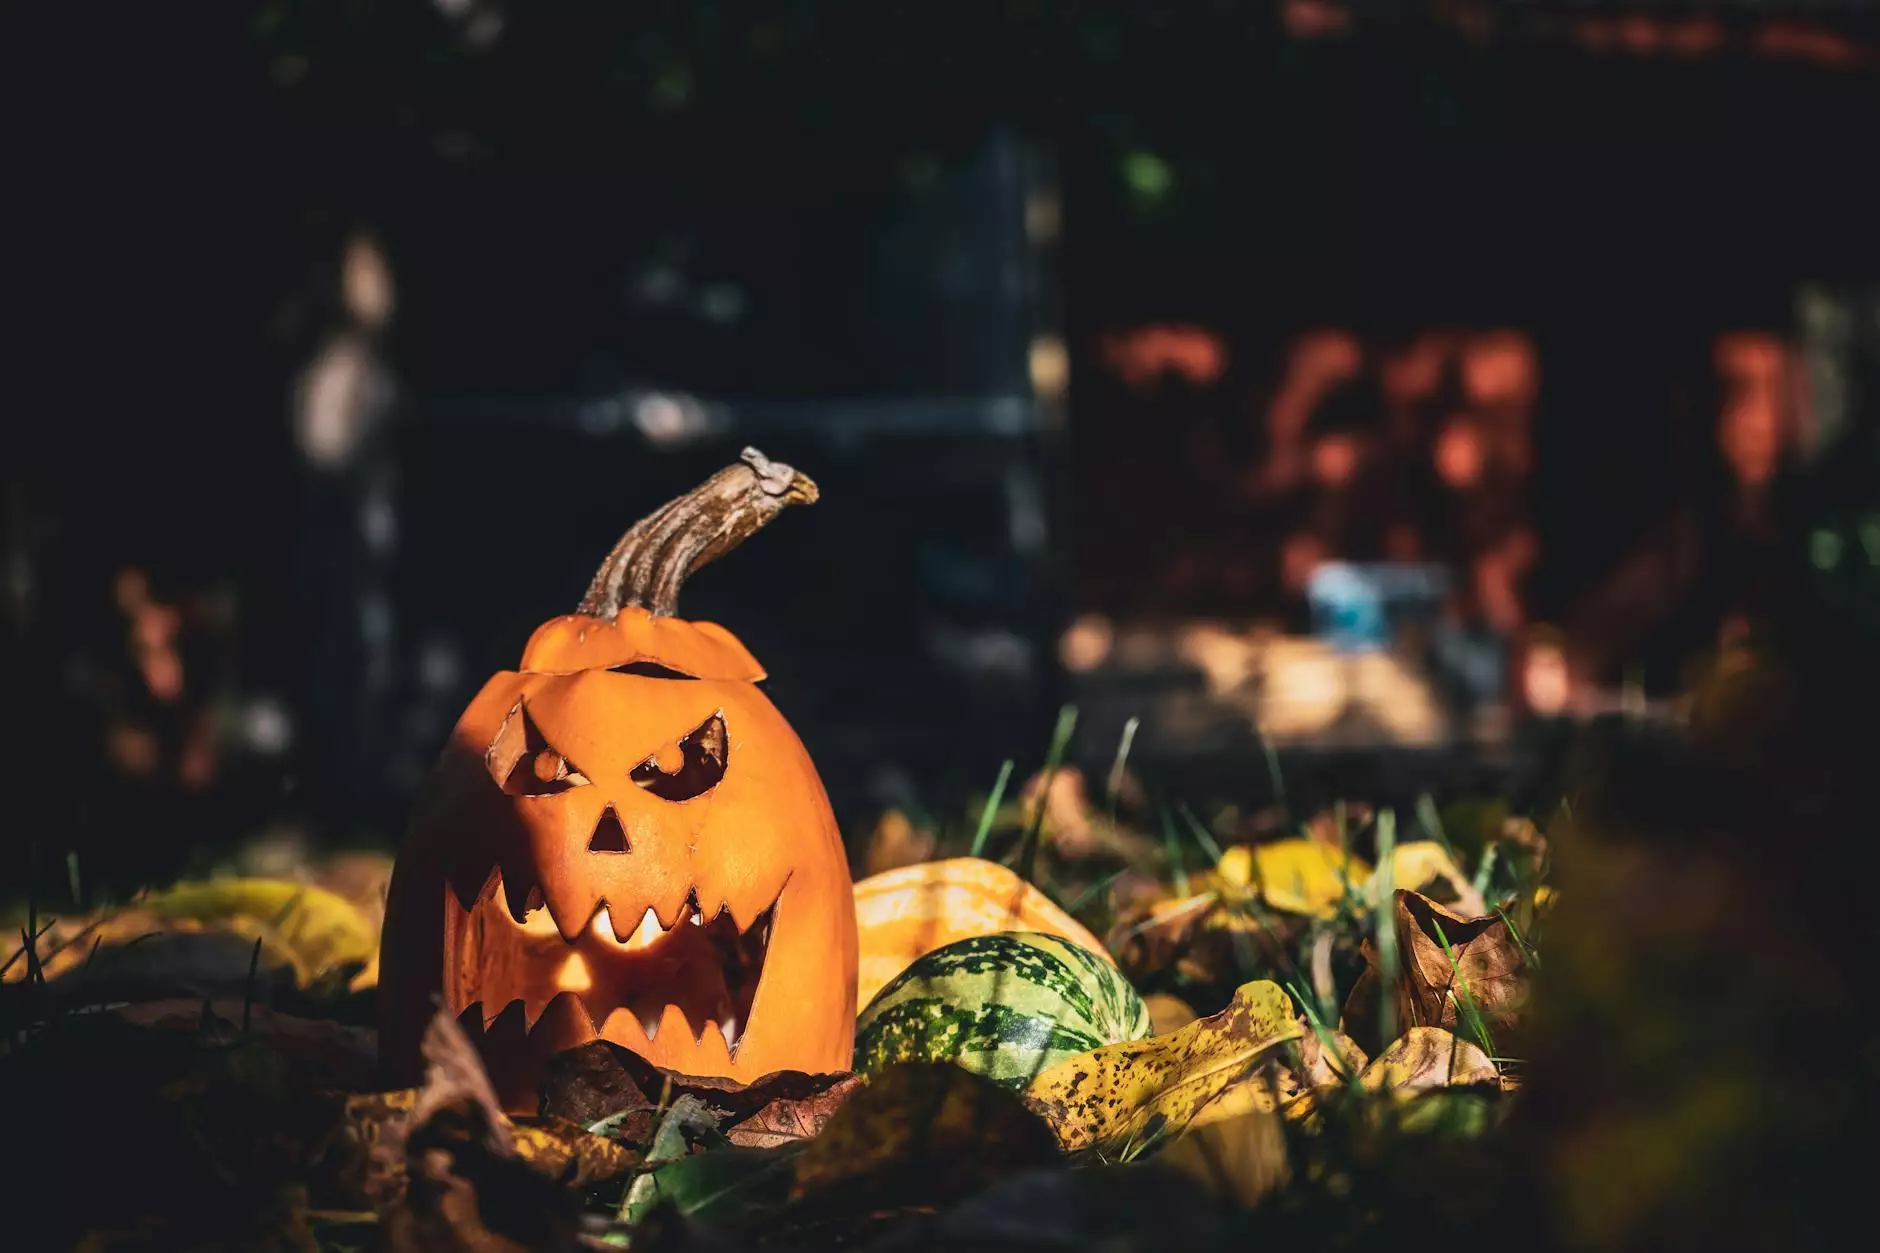
Harvesting Your Pumpikns
Once your pumpikns have matured, it’s time to harvest! Knowing when to pick them is crucial for flavor and texture.
Signs That Your Pumpikns Are Ready
- Color: They should have a rich, solid color based on the variety.
- Stem: A hardened stem, turning brown, indicates readiness.
- Sound: A hollow sound when thumped is a good sign.
Harvest your pumpikns by cutting them from the vine with sharp shears, leaving a few inches of stem for a longer shelf life.
Storing and Using Your Pumpikns
After harvesting, proper storage techniques will ensure your pumpikns last throughout the winter. Here’s how to keep them fresh:
Storage Techniques
- Temperature: Store in a cool, dry area, ideally between 50°F and 60°F (10°C and 15°C).
- Humidity: Maintain moderate humidity to prevent shriveling.
Properly stored pumpikns can last for several months, providing you with delicious meals and festive decorations throughout the fall and winter seasons.
Conclusion: The Joy of Growing Pumpikns
Growing pumpikns can be both a fulfilling hobby and a productive venture, offering garden enthusiasts a variety of creative and culinary opportunities. Whether you’re planning a grand Halloween display or a mouthwatering Thanksgiving feast, cultivating your own pumpikns adds a personal touch to your festivities. By following the guidelines outlined in this article, gardeners of all experience levels can successfully grow their own pumpikns, contributing to a thriving garden landscape.
For more tips, tricks, and insights on gardening, be sure to explore our resources at pumpkins.co.uk.