Cleaning and Polishing Your Aluminum Valve Cover to Look Factory Fresh - Demand Video
Chassis
- Home
- Store
- Cleaning and Polishing Your Aluminum Valve Cover - Demand Video
Introduction
Welcome to Grafco Electric's comprehensive guide on cleaning and polishing your aluminum valve cover to achieve a factory fresh look. If you're a car enthusiast, you know how important it is to take care of every detail to maintain the overall aesthetic appeal of your vehicle. In this demand video, we will delve into the step-by-step process of revitalizing your aluminum valve cover, so it looks as good as new. Let's get started!
Why is Cleaning and Polishing Important for Aluminum Valve Covers?
Aluminum valve covers are not only functional but also a focal point under the hood. Over time, they can accumulate dirt, grime, and oxidation, which can make your engine bay look dull and neglected. By properly cleaning and polishing your aluminum valve cover, you can restore its shine and enhance the overall appearance of your engine bay. Furthermore, regular maintenance extends the lifespan of your valve cover and prevents potential damage.
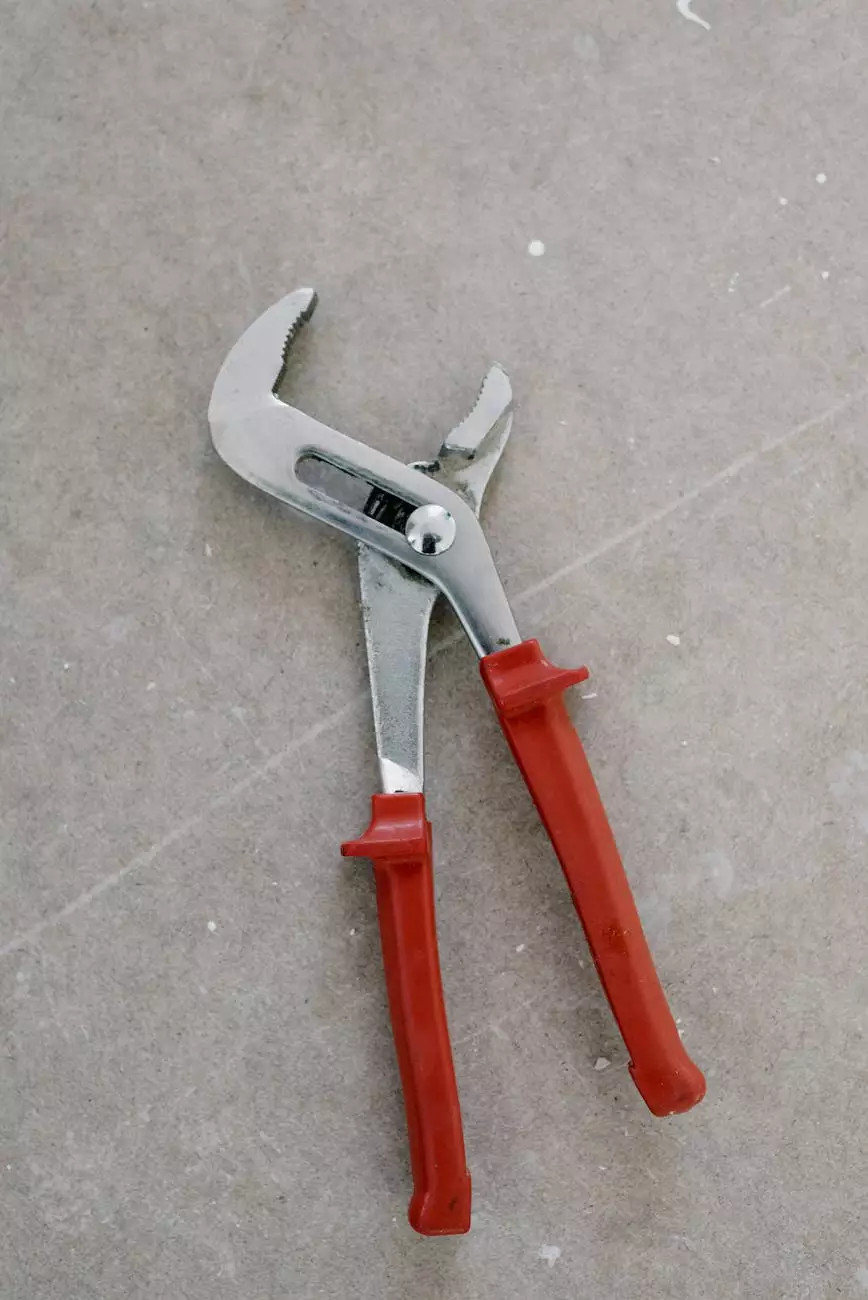
Tools and Materials
Before diving into the cleaning and polishing process, let's gather all the necessary tools and materials:
- Microfiber cloths
- Mild dish soap or aluminum cleaner
- Soft-bristle brush
- Aluminum polish
- Polishing pad
- Protective gloves
- Water source
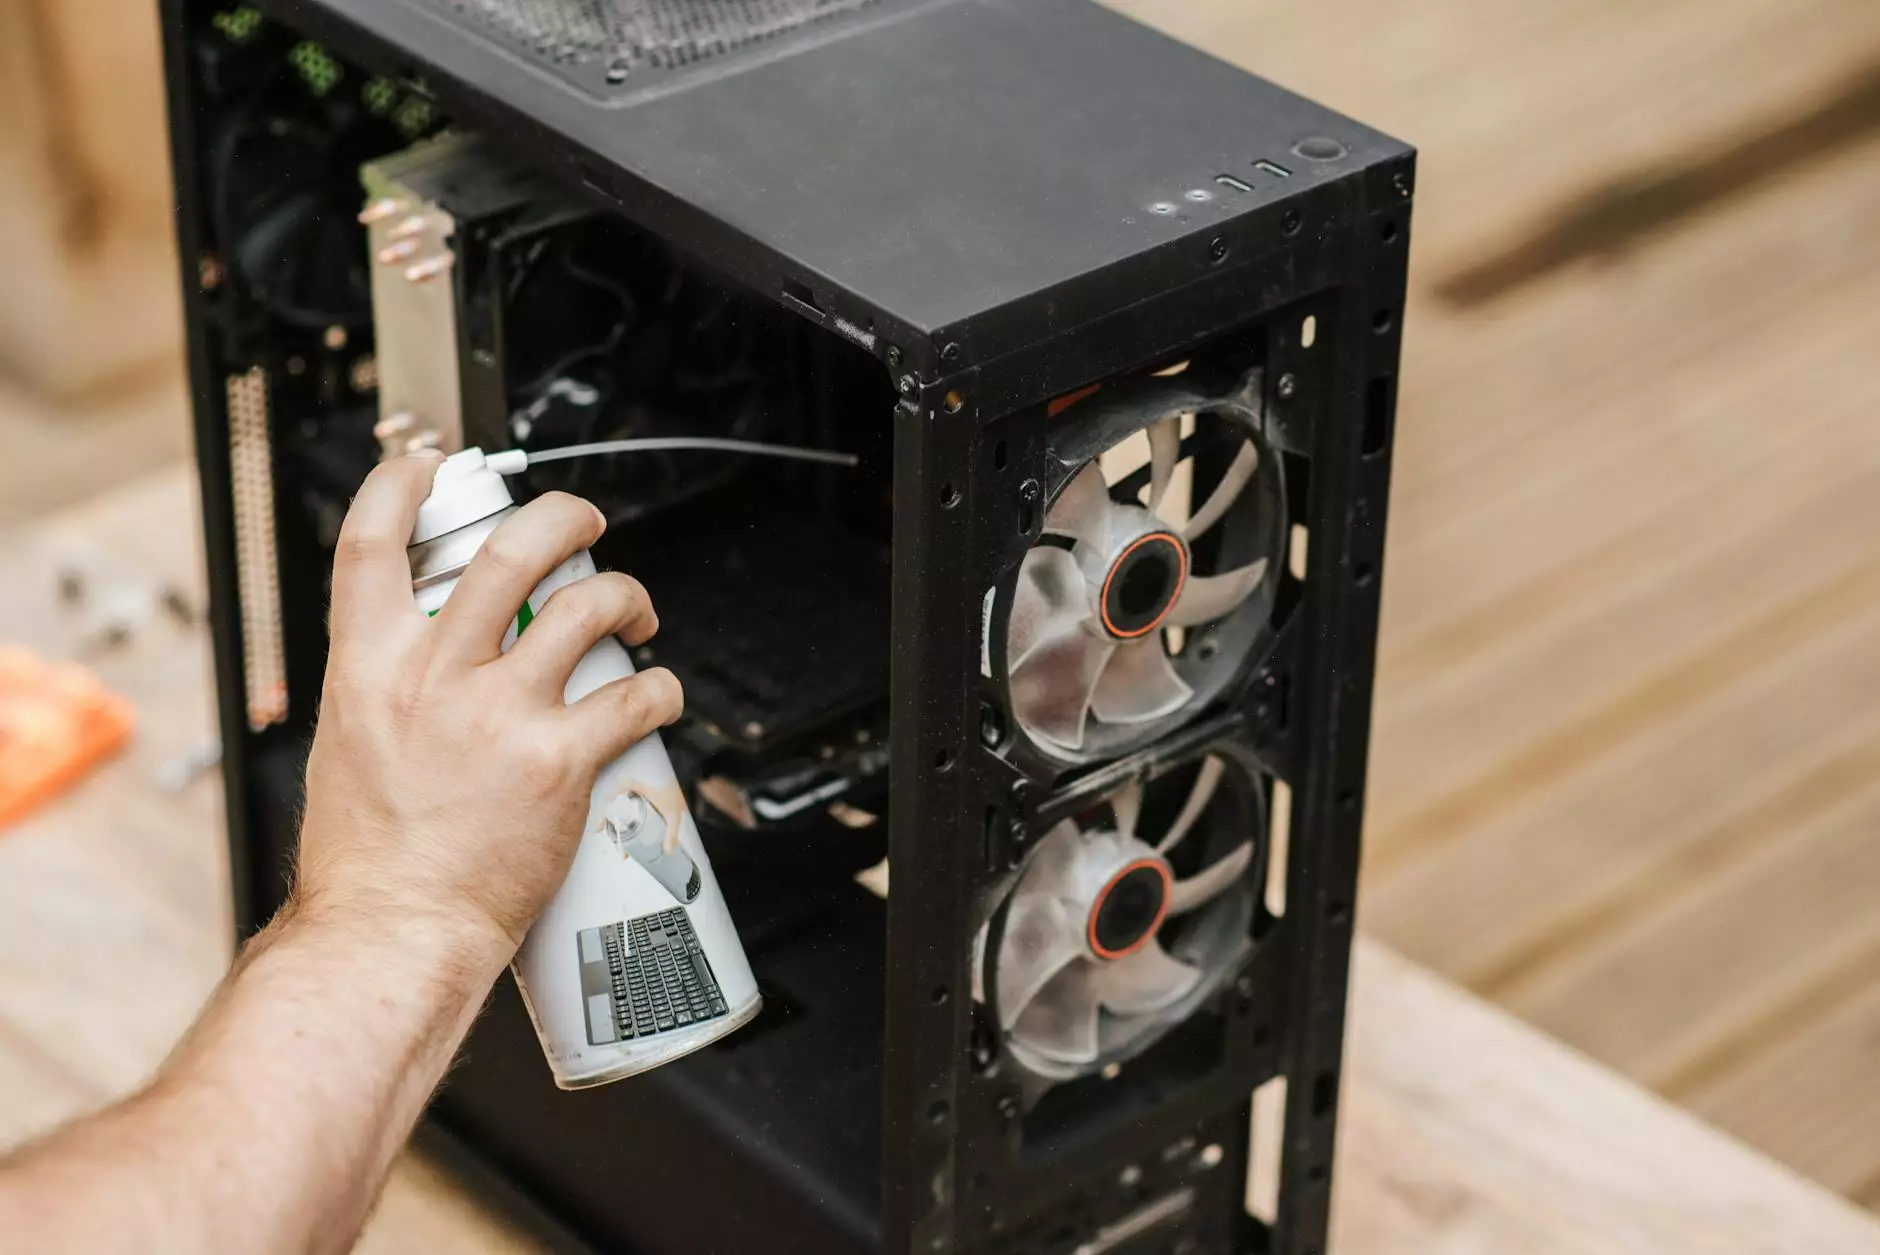
Step-by-Step Guide: Cleaning and Polishing Your Aluminum Valve Cover
Step 1: Surface Preparation
Start by preparing the surface of the aluminum valve cover. Remove any loose dirt or debris by gently wiping it with a microfiber cloth. This step helps prevent scratches during the cleaning process.
Step 2: Cleaning
Apply a small amount of mild dish soap or an aluminum cleaner to a soft-bristle brush. Gently scrub the entire surface of the valve cover, paying extra attention to areas with heavy buildup. Rinse with water to remove all the cleaning solution.
Step 3: Drying
Allow the valve cover to air dry or use a microfiber cloth to pat it dry. Make sure there is no remaining moisture before proceeding to the next step.
Step 4: Polishing
Apply a generous amount of aluminum polish onto a polishing pad. Begin rubbing the polish onto the valve cover using small circular motions. Polish the entire surface until you achieve a glossy shine.
Step 5: Final Touches
Inspect the valve cover for any missed spots or imperfect areas. If needed, repeat the polishing process in those specific areas until you are satisfied with the overall result.
Maintenance Tips
Now that you have successfully cleaned and polished your aluminum valve cover, here are a few maintenance tips to ensure it remains in pristine condition:
- Regularly dust off the valve cover with a microfiber cloth to prevent dirt accumulation.
- Avoid using abrasive cleaning tools that can scratch the surface.
- Apply a layer of protective wax or sealant to prolong the shine and protect against oxidation.
- Inspect the valve cover periodically for signs of damage or wear. Address any issues promptly.
Conclusion
Congratulations! You now have the knowledge and insights to clean and polish your aluminum valve cover, making it look factory fresh. Remember, a well-maintained engine bay reflects your dedication to preserving the overall appearance and value of your vehicle. Show off your engine with confidence and enjoy the satisfaction of a job well done. Don't forget to browse our selection of automotive products at Grafco Electric's online store for all your car care needs.
© 2022 Grafco Electric | All rights reserved | Created by Grafco Electric