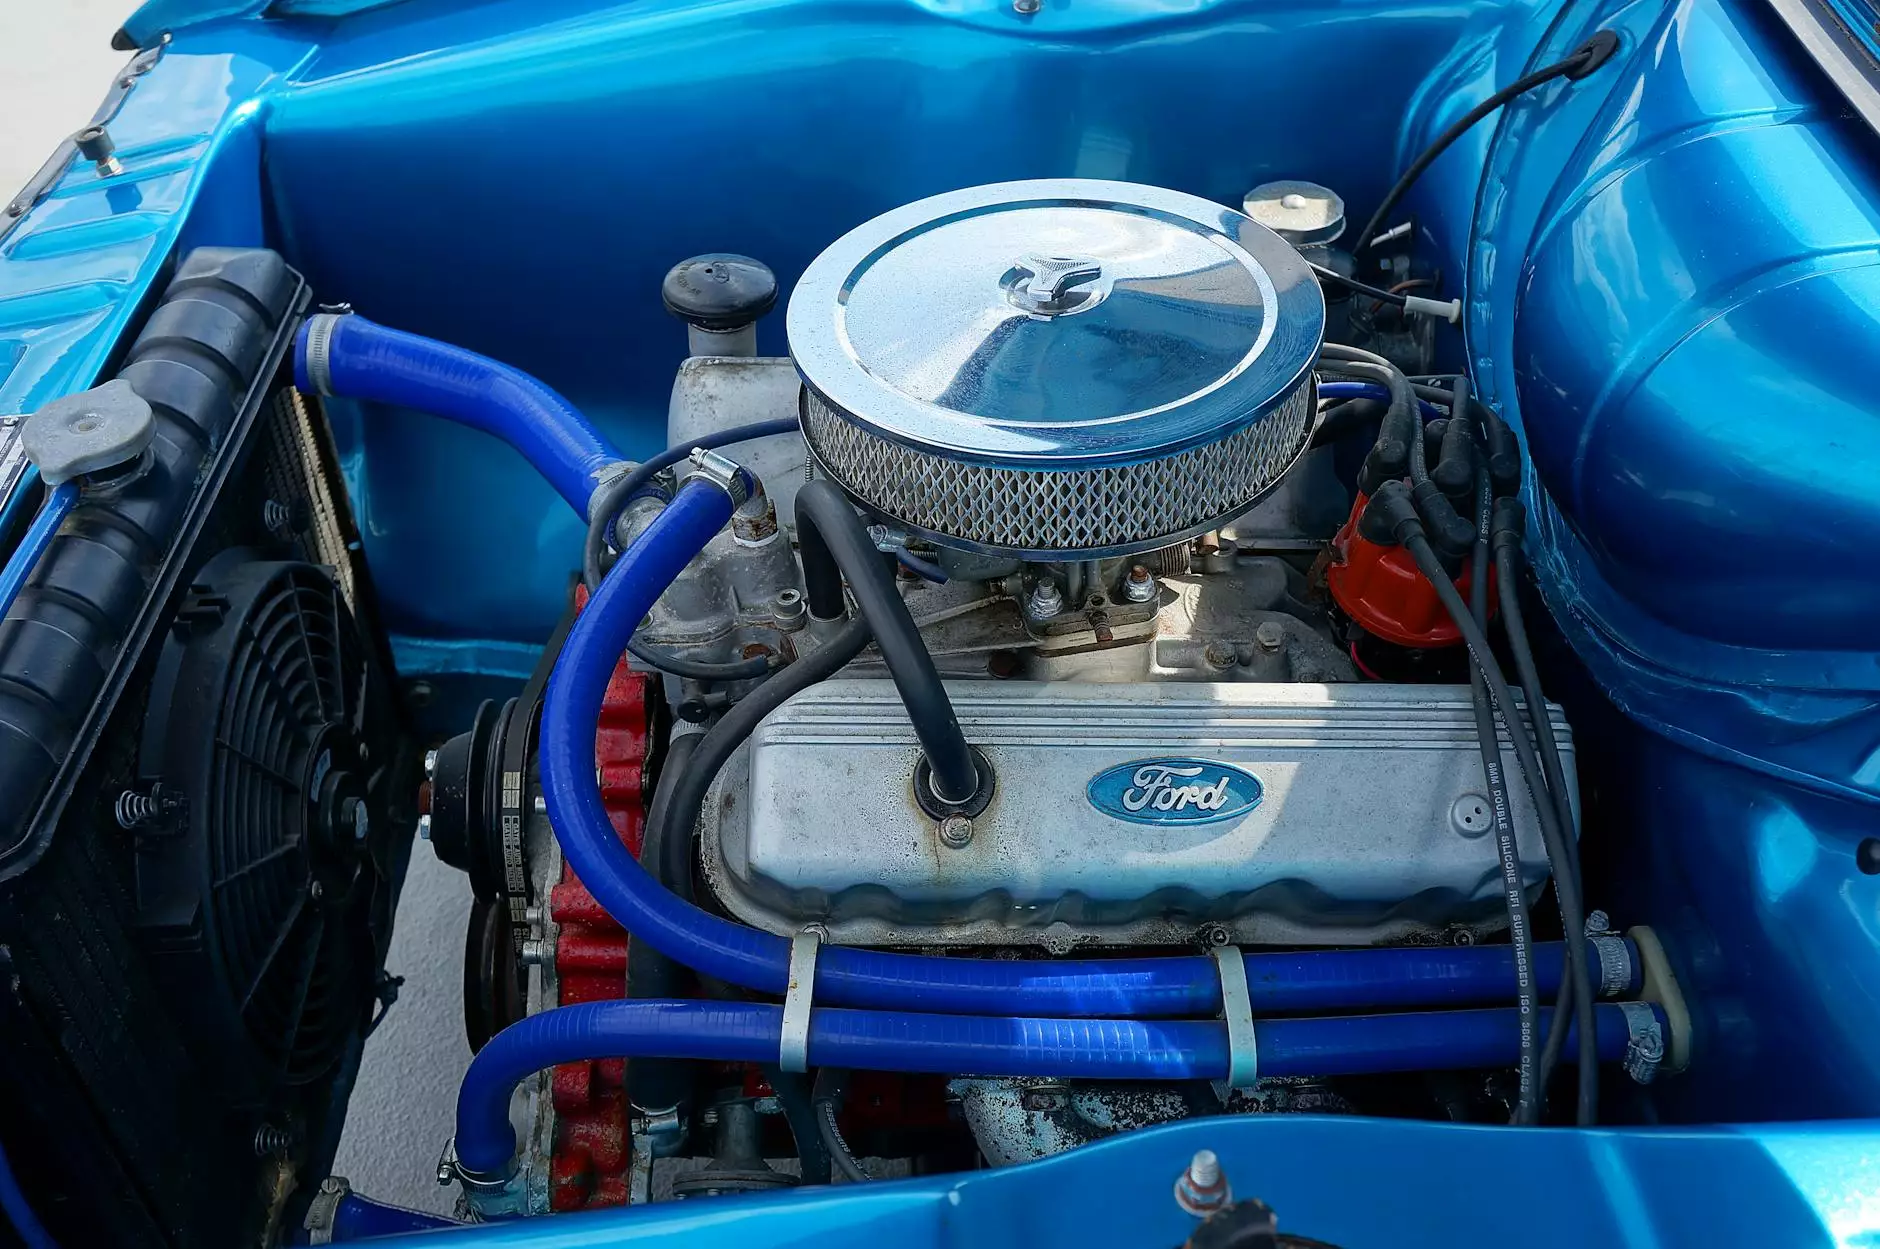
How to Fuel Pressure Test a 1970 to 1975 D-Jetronic V8 Engine
Chassis
Introduction
Welcome to Grafco Electric, your source for top-notch automotive maintenance and diagnostic tips. In this comprehensive guide, you will learn how to perform a fuel pressure test on a 1970 to 1975 D-Jetronic V8 engine. By following these step-by-step instructions, you will be able to ensure optimal performance and diagnose any fuel delivery issues.
Understanding D-Jetronic Fuel Injection System
The D-Jetronic fuel injection system was used in various Volkswagen and Porsche vehicles from 1970 to 1975. It was an electronic fuel injection system that improved fuel efficiency and performance. However, over time, these systems may develop issues, and a fuel pressure test is an important diagnostic procedure to identify problems.
Why Perform a Fuel Pressure Test?
A fuel pressure test helps determine whether the fuel injection system is providing the correct fuel pressure to the engine. Low fuel pressure can lead to engine misfires, hesitation, poor performance, and even stalling. By performing this test, you can identify if any components need to be repaired or replaced.
Step-by-Step Guide: Fuel Pressure Test
Step 1: Safety Precautions
Before starting any automotive maintenance procedure, it is important to prioritize safety. Ensure that the engine is cool, wear appropriate protective gear, and, if necessary, work in a well-ventilated area. Always refer to the vehicle's manual for specific safety instructions.
Step 2: Gather Required Tools and Equipment
For a fuel pressure test on a 1970 to 1975 D-Jetronic V8 engine, you will need the following tools and equipment:
- Fuel pressure gauge
- Vehicle-specific repair manual
- Safety glasses
- Gloves
- Socket wrench set
- Open-end wrench set
- Teflon tape
- Clean shop towels
Step 3: Locate the Fuel Pressure Test Port
Before connecting the fuel pressure gauge, locate the fuel pressure test port. In most D-Jetronic V8 engines, the test port is located near the fuel rail or fuel distributor. Refer to the vehicle's repair manual for specific instructions on its location.
Step 4: Prepare for the Test
Follow these steps to prepare for the fuel pressure test:
- Turn off the engine and remove the key from the ignition.
- Relieve the fuel system pressure by disconnecting the fuel pump relay or fuse and allowing the engine to idle until it stalls.
- Disconnect the negative battery terminal.
Step 5: Connect the Fuel Pressure Gauge
Connect the fuel pressure gauge to the fuel pressure test port using the appropriate fittings. Ensure the connections are tight and secure. It is recommended to use Teflon tape on the threaded fittings to prevent any fuel leaks.
Step 6: Turn on the Ignition
With the fuel pressure gauge connected, turn the ignition key to the "ON" position without starting the engine. This will power up the fuel pump and allow the gauge to measure the fuel pressure.
Step 7: Check Fuel Pressure
Observe the fuel pressure reading on the gauge. Compare the measured pressure to the specifications outlined in the vehicle's repair manual. If the pressure is significantly below or above the recommended range, it indicates a potential issue with the fuel delivery system.
Step 8: Interpret the Results
Based on the fuel pressure reading, you can infer the following conditions:
- If the fuel pressure is too low, it may indicate a defective fuel pump, clogged fuel filter, or a leaking fuel injector.
- If the fuel pressure is too high, it may suggest a faulty fuel pressure regulator or a restricted fuel return line.
Step 9: Perform Further Diagnosis
If the fuel pressure deviates from the specified range, further diagnostic steps are required to pinpoint the exact cause of the issue. Consult the vehicle's repair manual or seek professional assistance to perform additional tests and inspections.
Step 10: Complete the Test
Once you have finished performing the fuel pressure test and interpreting the results, it is time to disconnect the fuel pressure gauge and restore any components you may have removed. Double-check that all connections are secure and there are no fuel leaks.
Conclusion
Congratulations! You have successfully learned how to perform a fuel pressure test on a 1970 to 1975 D-Jetronic V8 engine. By following the step-by-step instructions provided by Grafco Electric, you can ensure optimal performance and diagnose any fuel delivery issues that may arise. Remember to prioritize safety throughout the procedure and consult the vehicle's repair manual for specific instructions. If you encounter any difficulties or have further questions, do not hesitate to seek professional assistance. Happy testing!


