How to Install the Klima Heater Control Valve in the late W123 and the 380SL
Chassis
Welcome to Grafco Electric's guide on how to install the Klima Heater Control Valve in the late W123 and the 380SL. If you're looking to enhance the performance of your vehicle's heating system, our step-by-step instructions will provide you with the knowledge you need to complete the installation successfully.
Why Install the Klima Heater Control Valve?
The Klima Heater Control Valve is an essential component of the heating system in the late W123 and the 380SL models. It plays a crucial role in regulating the flow of coolant through the heater core, ensuring that the cabin temperature remains comfortable during colder months.
A malfunctioning or faulty control valve can lead to inadequate heating or cooling, causing discomfort to both the driver and passengers. By installing a new Klima Heater Control Valve, you can restore the optimal functionality of your vehicle's heating system, ensuring a comfortable and enjoyable driving experience.
Installation Process
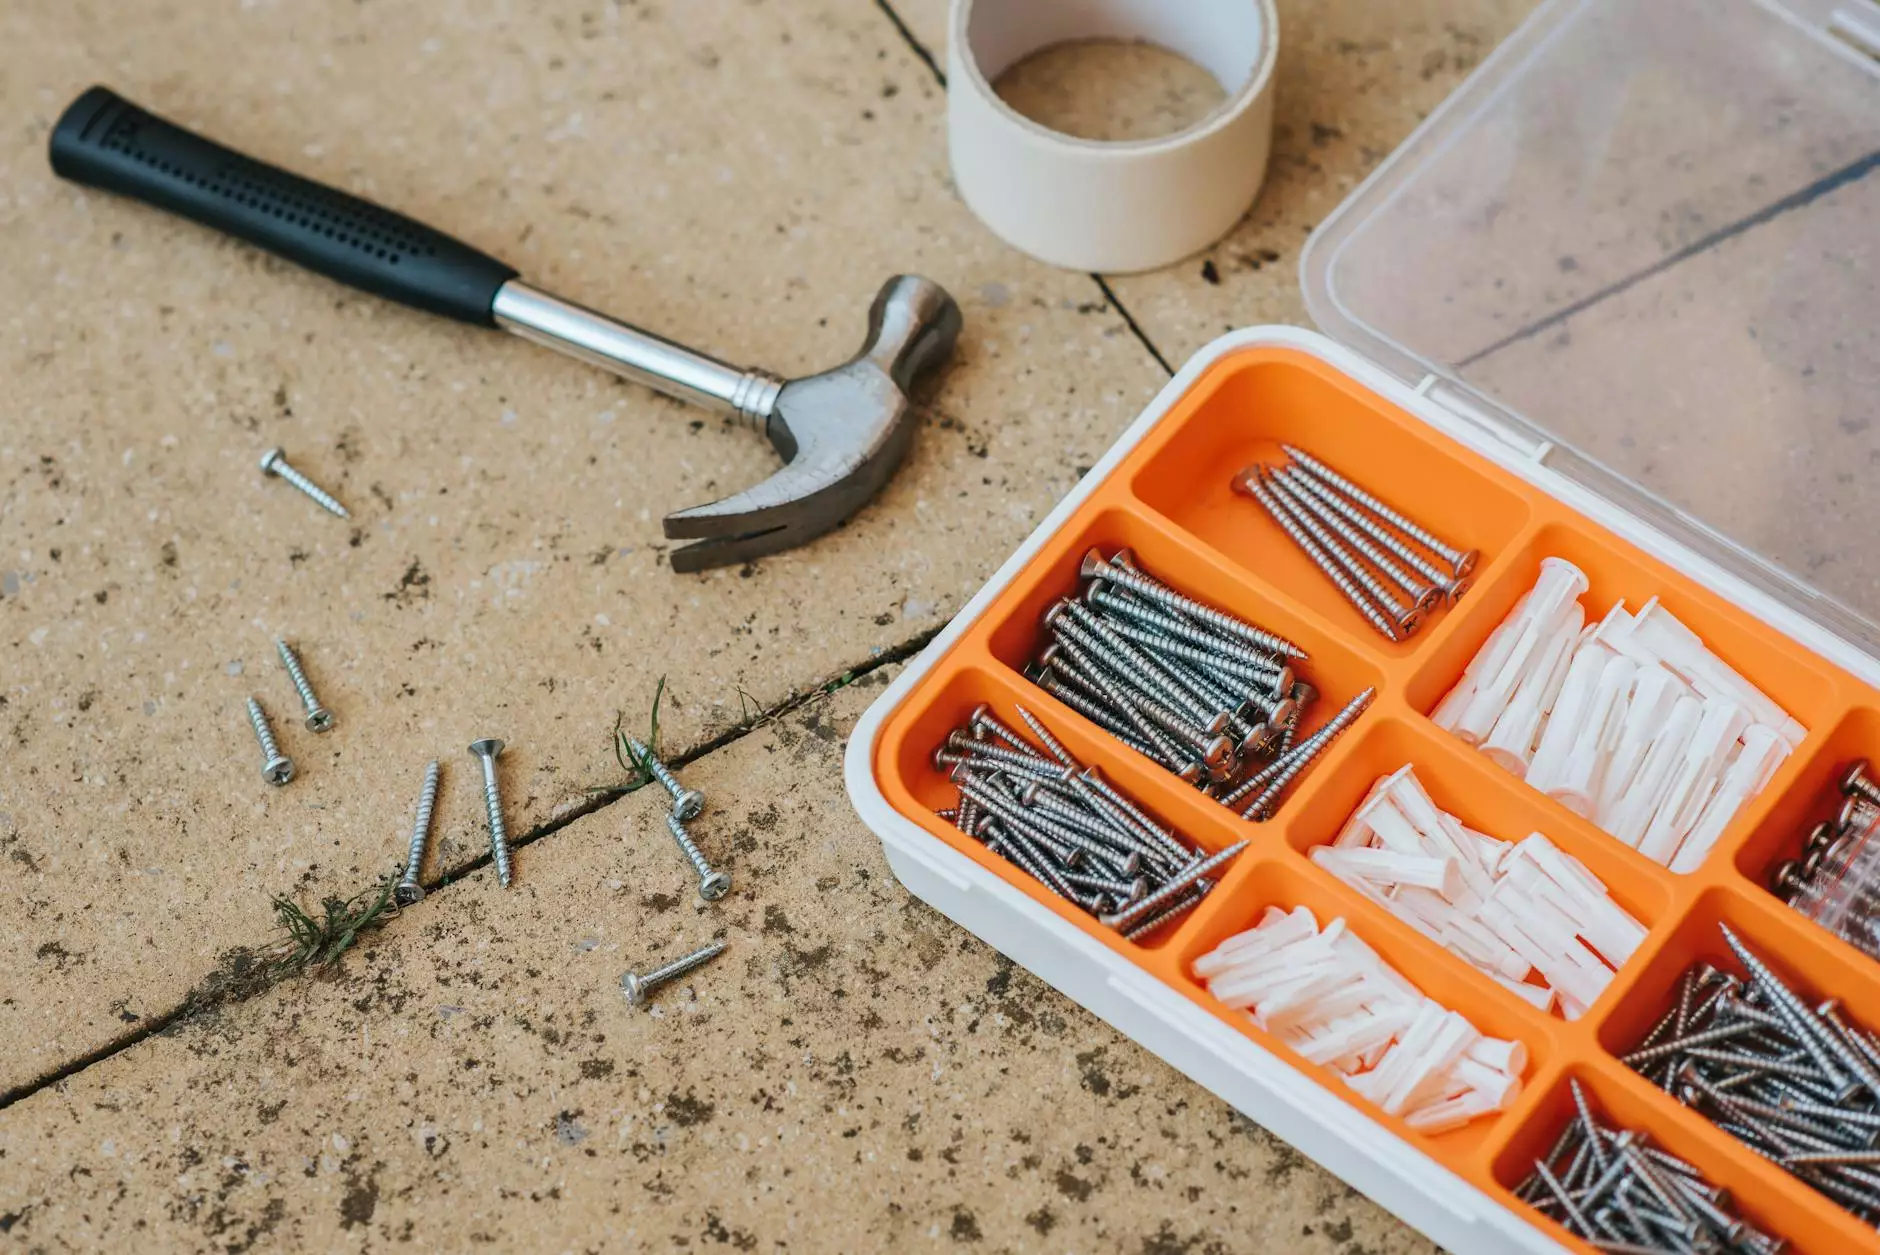
Before you begin the installation, make sure you have all the necessary tools, including a set of wrenches, pliers, and a coolant vacuum. Additionally, ensure that you have the replacement Klima Heater Control Valve readily available.
Step 1: Preparation
Start by disconnecting the battery to ensure your safety during the installation process. You will also need to drain the coolant completely. Make sure to have a drain pan ready to collect the coolant.
Step 2: Accessing the Control Valve
Locate the Klima Heater Control Valve, which is typically located near the firewall on the passenger side of the engine compartment. You may need to remove some engine covers or components to gain access to the valve.
Step 3: Removing the Old Control Valve
Using a wrench or pliers, carefully disconnect the hoses connected to the control valve. Be cautious as coolant may still be present in the system. Once the hoses are disconnected, remove the nuts or bolts securing the control valve in place.
Step 4: Installing the New Control Valve
Before installing the new Klima Heater Control Valve, inspect the hoses for any signs of wear or damage. It is recommended to replace the hoses if necessary. Align the new control valve with the mounting holes and secure it in place using the corresponding nuts or bolts.
Step 5: Reconnecting the Hoses
Reconnect the hoses to the new control valve, ensuring a secure and tight fit. Double-check the alignment and make any necessary adjustments before proceeding further.
Step 6: Refilling the Coolant
With the control valve successfully installed, it's time to refill the coolant. Use a coolant vacuum to remove any air bubbles and ensure proper circulation throughout the system. Refill the coolant reservoir to the recommended level and replace the cap.
Step 7: Testing the System
Once the installation is complete, reattach the battery and start the engine. Allow it to run for a few minutes to ensure that the heating system is functioning correctly. Check for any leaks or abnormal noises that may indicate a problem.
Conclusion
Congratulations! You have successfully installed the Klima Heater Control Valve in the late W123 and the 380SL. By following our comprehensive guide, you can enjoy a properly functioning heating system in your vehicle, providing comfort to both yourself and your passengers during colder months.
If you encounter any difficulties during the installation process or have any additional questions, please feel free to reach out to our expert team at Grafco Electric. We are here to assist you and provide further guidance.
Thank you for choosing Grafco Electric as your trusted source for automotive solutions. Happy driving!


