How to Replace Late W123 Upper Center Console Light Bulbs
Chassis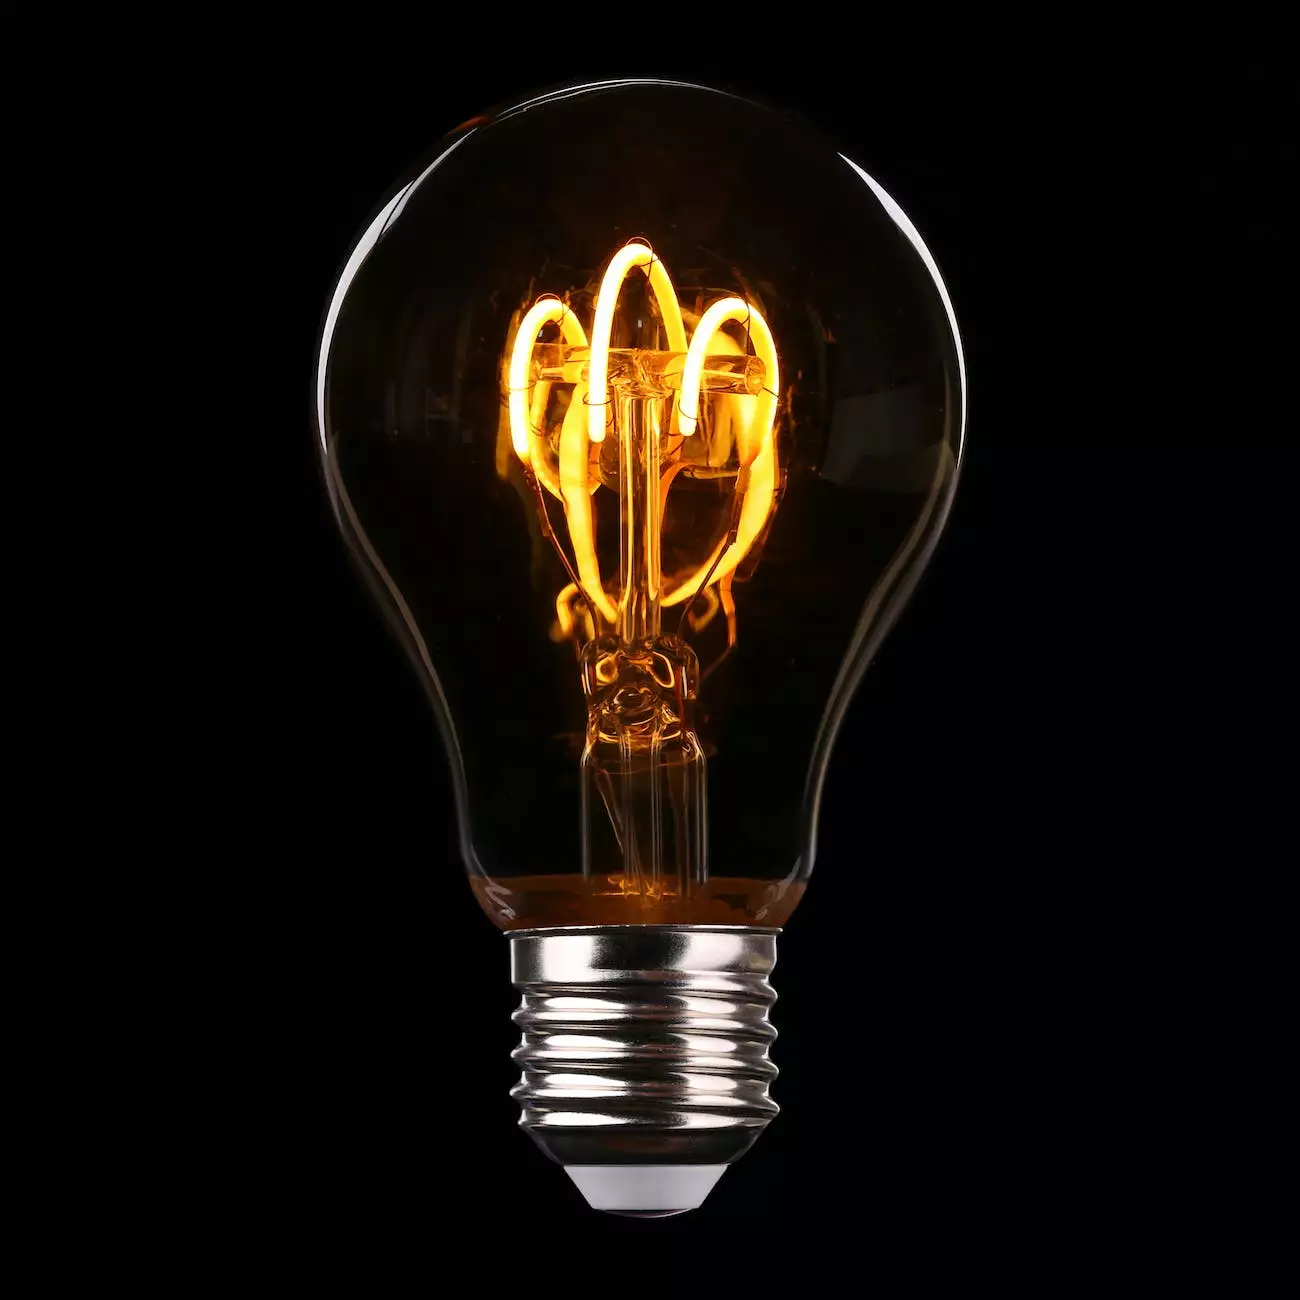
Welcome to Grafco Electric's comprehensive guide on replacing the upper center console light bulbs in late model W123 vehicles. In this detailed step-by-step tutorial, we will walk you through the entire process, ensuring that you can easily replace the light bulbs yourself.
Why Replace Late W123 Upper Center Console Light Bulbs?
Before we delve into the replacement process, let's understand why it is essential to replace the upper center console light bulbs. These bulbs play a crucial role in illuminating the console, allowing you to easily access and operate various controls, such as the climate control system, radio, and other switches.
Over time, these bulbs may dim or burn out completely, making it difficult to see and operate the controls properly. By replacing them promptly, you can ensure optimal visibility and maintain the functionality of your W123 interior.
Tools and Materials Required
Before getting started, gather the following tools and materials:
- Small flathead screwdriver
- Nylon pry tool
- Replacement bulbs (specific to your W123 model)
Step-by-Step Guide to Replacing Late W123 Upper Center Console Light Bulbs
Step 1: Removing the Center Console Cover
The first step is to carefully remove the center console cover. To do this, use a small flathead screwdriver to gently pry off the cover. Start from one corner and slowly work your way around, releasing the clips that hold the cover in place. Once all the clips are free, lift the console cover upwards and set it aside.
Step 2: Accessing the Light Bulbs
Once the console cover is removed, you will be able to access the light bulbs. Locate the bulbs positioned within the upper center console and remove the connectors attached to them. Depending on your W123 model, you may need to use a nylon pry tool to release the connectors.
Step 3: Removing the Old Bulbs
With the connectors detached, carefully remove the old bulbs from their sockets. Take note of their placement and orientation for accurate replacement later. If necessary, use a small piece of cloth to grip and unscrew stubborn bulbs.
Step 4: Installing the New Bulbs
Now, it's time to install the new bulbs. Ensure the replacement bulbs match the specifications for your W123 model. Insert each bulb into its respective socket, aligning them correctly based on your previous observations. Take caution not to force the bulbs into place, as they should fit snugly.
Step 5: Reattaching the Connectors
Once the new bulbs are securely in place, reconnect the connectors to the bulbs. Ensure that the connectors are firmly attached and seated properly to avoid any loose connections.
Step 6: Testing the Lights
Before reassembling the center console cover, test the new bulbs to ensure they are functioning correctly. Turn on the W123's interior lights, and check if the bulbs illuminate the upper center console as expected.
Step 7: Reassembling the Center Console
If the new bulbs are working properly, it's time to reassemble the center console. Carefully align the console cover over the center console and gently press down to secure it back into place. Take care not to damage any of the clips during reassembly.
Now that you have successfully replaced the late W123 upper center console light bulbs, you can enjoy improved visibility and convenience while operating your vehicle's controls. Remember, if you encounter any difficulties during the replacement process or require further assistance, feel free to reach out to the team at Grafco Electric.
Thank you for choosing Grafco Electric as your trusted resource for W123 maintenance. We are confident that this guide has provided you with the necessary knowledge and steps to carry out this task effectively.
