How to Remove a Window Regulator When Motor Won't Run
Chassis
Dealing with a malfunctioning window regulator can be frustrating, especially when the motor refuses to run. However, fear not! In this comprehensive guide, Grafco Electric will walk you through the step-by-step process of removing a window regulator when the motor won't run. With our detailed instructions and expert tips, you'll be able to successfully tackle this task and get your windows functioning smoothly again.
The Importance of a Properly Functioning Window Regulator
Before diving into the removal process, let's first understand the importance of a properly functioning window regulator. The window regulator plays a crucial role in controlling the movement of your vehicle's window. It ensures smooth up and down motion, allowing you to enjoy fresh air or protect yourself from external elements.
A malfunctioning window regulator can result in a number of inconveniences. From being unable to roll the window up or down to dealing with annoying rattling sounds, a faulty window regulator can disrupt your overall driving experience. By promptly addressing the issue, you can restore not only the functionality but also the comfort of your vehicle.
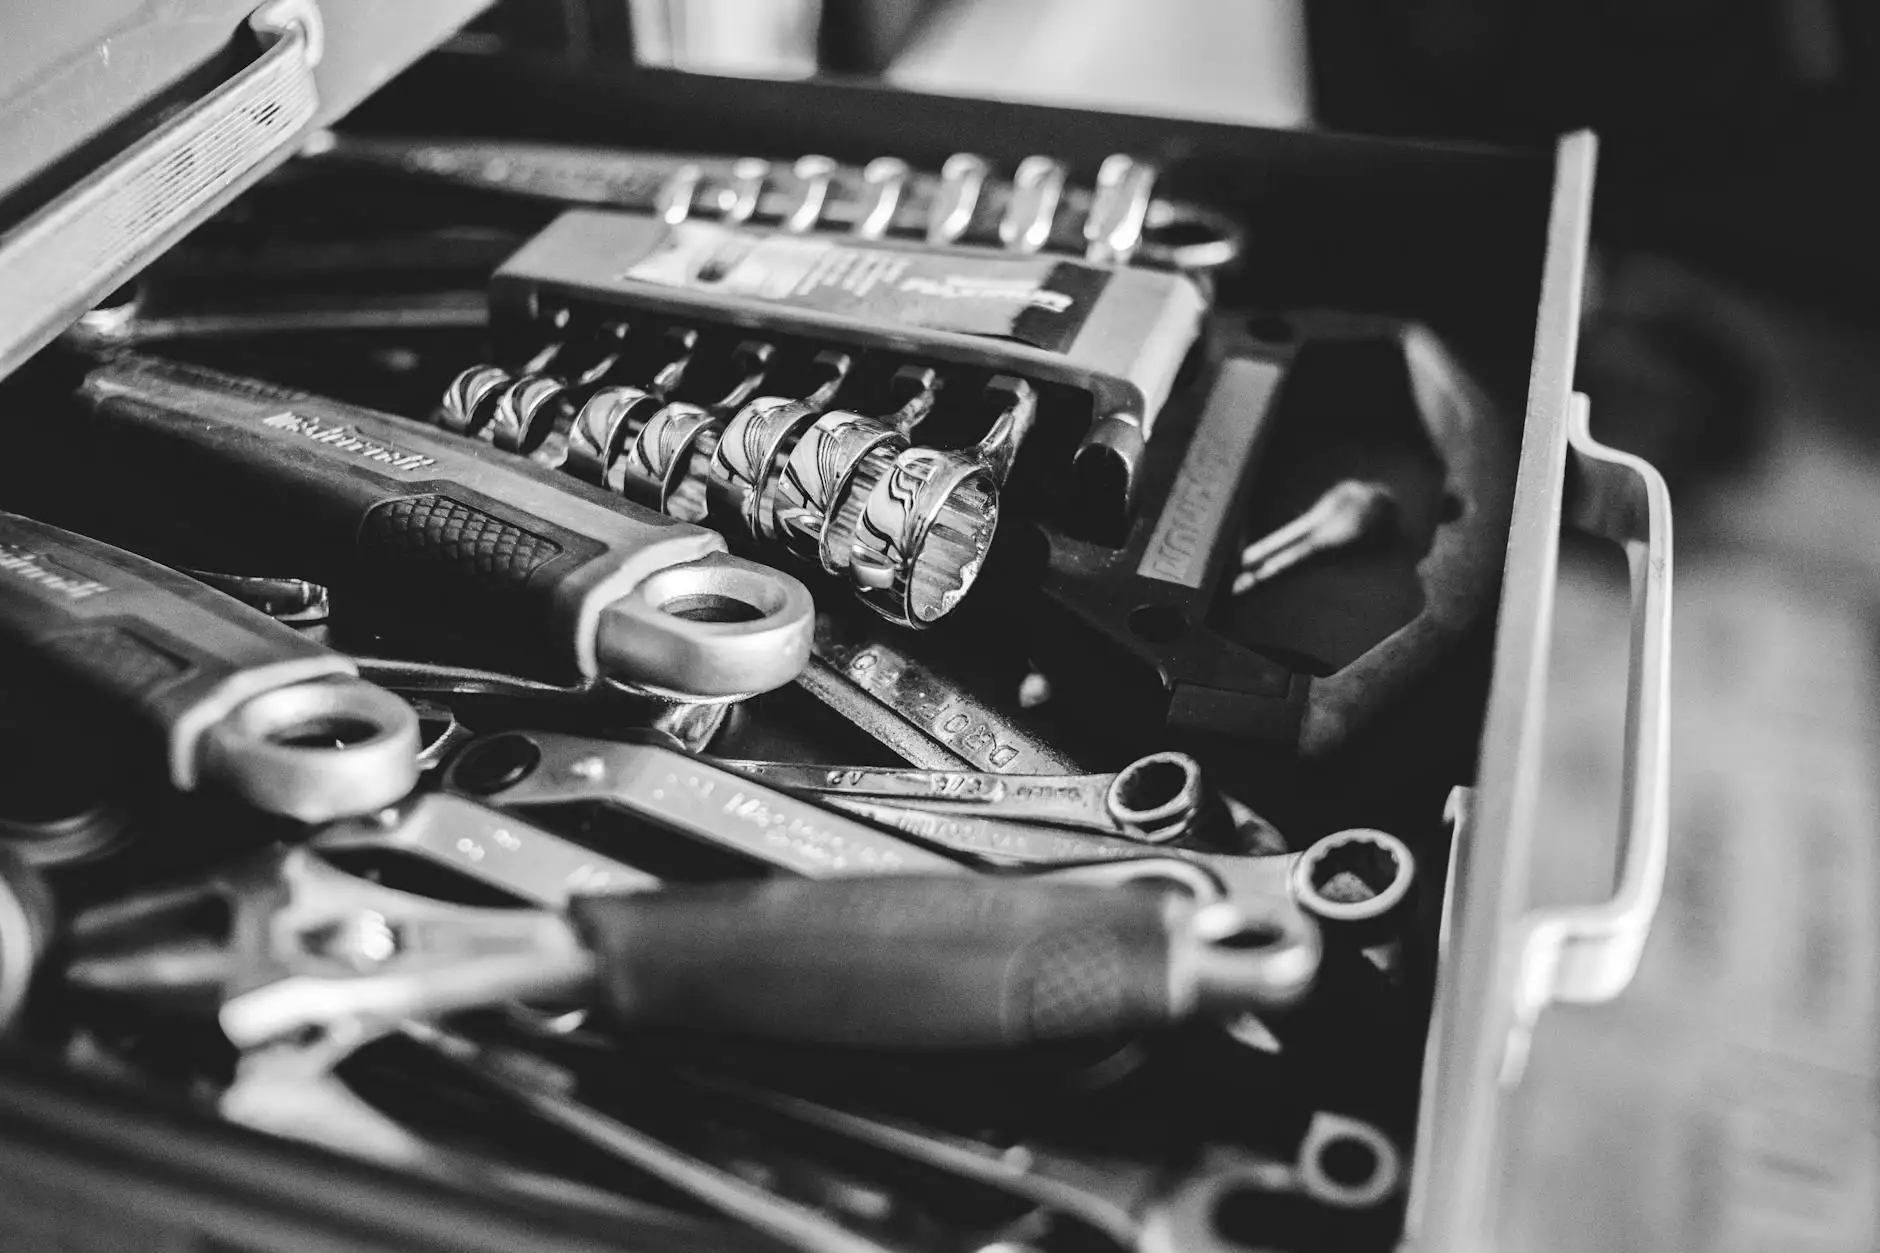
Gather the Necessary Tools and Materials
Before starting the removal process, it is essential to gather all the necessary tools and materials. Here's a list of items you'll need:
- Socket set
- Wire cutters
- Tape measure
- Trim panel removal tool
- Shop manual or repair guide specific to your vehicle
- Protective gloves
Having these tools ready will ensure a smooth and efficient removal process.
Step-by-Step Guide to Remove a Window Regulator When Motor Won't Run
Step 1: Safety First
Prioritize your safety by taking necessary precautions. Make sure your vehicle is parked on a flat, stable surface, and engage the parking brake to prevent any unwanted movement.
Step 2: Remove the Door Panel
Start by carefully removing the door panel. This can be achieved by using a trim panel removal tool to pry off any clips or screws holding the panel in place. Take your time to avoid damaging any components or upholstery in the process.
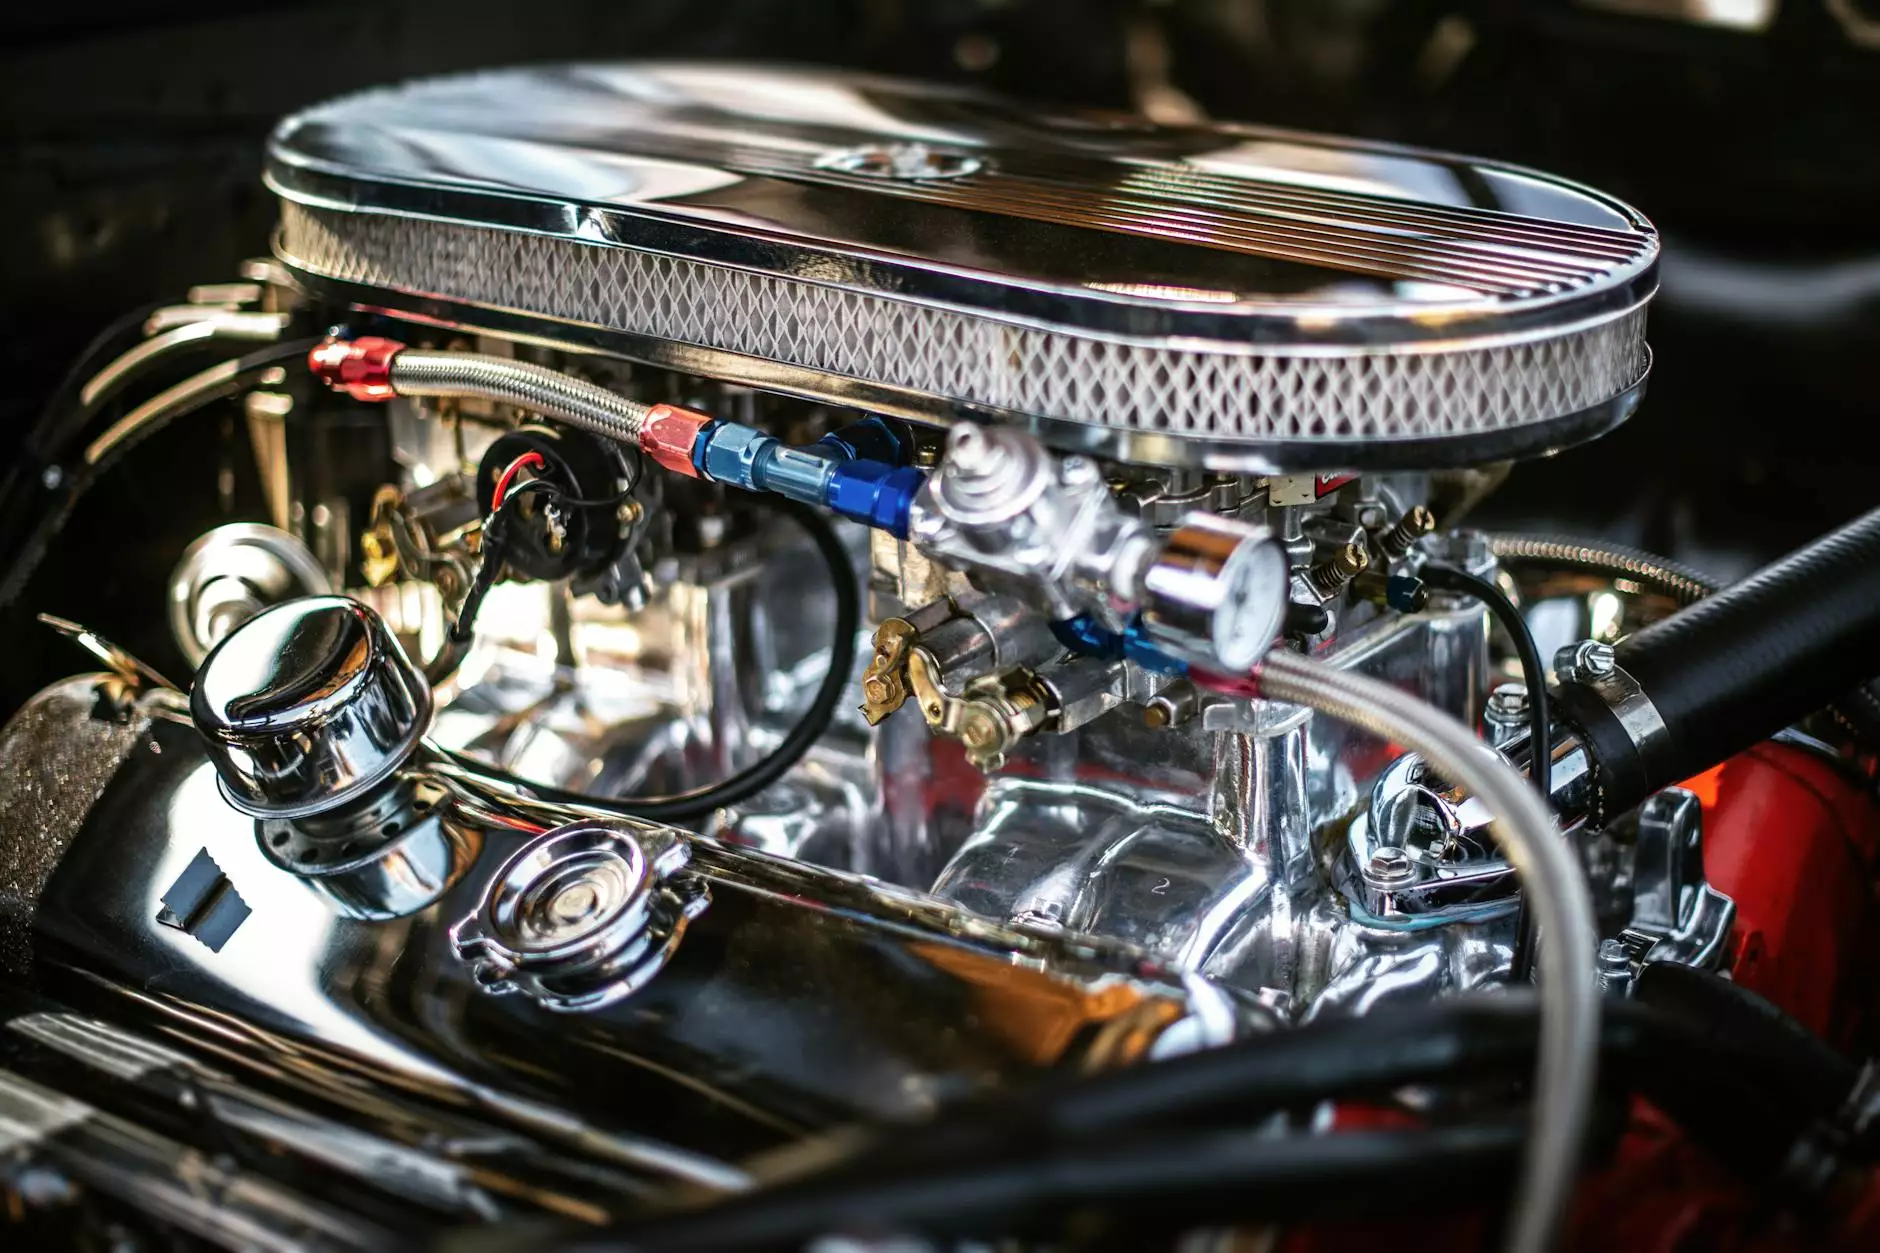
Step 3: Access the Window Regulator
Once the door panel is removed, locate the window regulator assembly. It is usually positioned near the bottom of the door, attached to the window glass. Identify the mounting bolts or screws holding it in place.
Step 4: Disconnect the Electrical Connections
If your vehicle has power windows, you'll need to disconnect the electrical connections before proceeding further. Consult your shop manual or repair guide specific to your vehicle for detailed instructions on how to safely disconnect the electrical connections.
Step 5: Remove the Window Glass
In order to remove the window regulator, the window glass needs to be detached from it. Carefully maneuver the glass to gain access to the mounting points, and then remove any bolts or screws securing it to the regulator.
Step 6: Detach the Window Regulator
With the window glass detached, you can now proceed to remove the window regulator. Using the appropriate socket set, carefully unscrew and detach the mounting bolts or screws securing the regulator to the door.
Step 7: Install the Replacement Window Regulator
If you are replacing the window regulator entirely, follow the manufacturer's instructions to install the new regulator. Ensure that all bolts or screws are securely tightened.
Step 8: Reattach the Window Glass
Once the replacement regulator is securely installed, reattach the window glass by following the reverse steps of its removal. Align the glass with the regulator and secure it with the necessary bolts or screws.
Step 9: Reconnect the Electrical Connections
If you disconnected any electrical connections earlier, now is the time to carefully reconnect them. Double-check the connections to ensure they are properly reattached.
Step 10: Test the Functionality
Before reassembling the door panel, test the window's functionality. Turn on the vehicle and try rolling the window up and down to ensure smooth operation. If everything looks good, proceed to the next step.
Step 11: Reinstall the Door Panel
Carefully reattach the door panel by aligning it with the clips or screws. Ensure that all fasteners are securely in place to avoid any rattling or loose panels.
Trust Grafco Electric for Your Window Regulator Needs
At Grafco Electric, we understand the importance of a properly functioning window regulator. We are committed to providing high-quality replacement parts and expert guidance to help you overcome any issues related to your vehicle's window system.
Whether you need assistance in removing a window regulator, identifying the right replacement part, or general maintenance tips, our team of professionals is here to help. Contact us today to experience exceptional service and reliable solutions tailored to your specific needs.
Remember, when it comes to window regulators, trust only Grafco Electric!