Master Cylinder Removal, Bench Bleeding, and Replacement
Chassis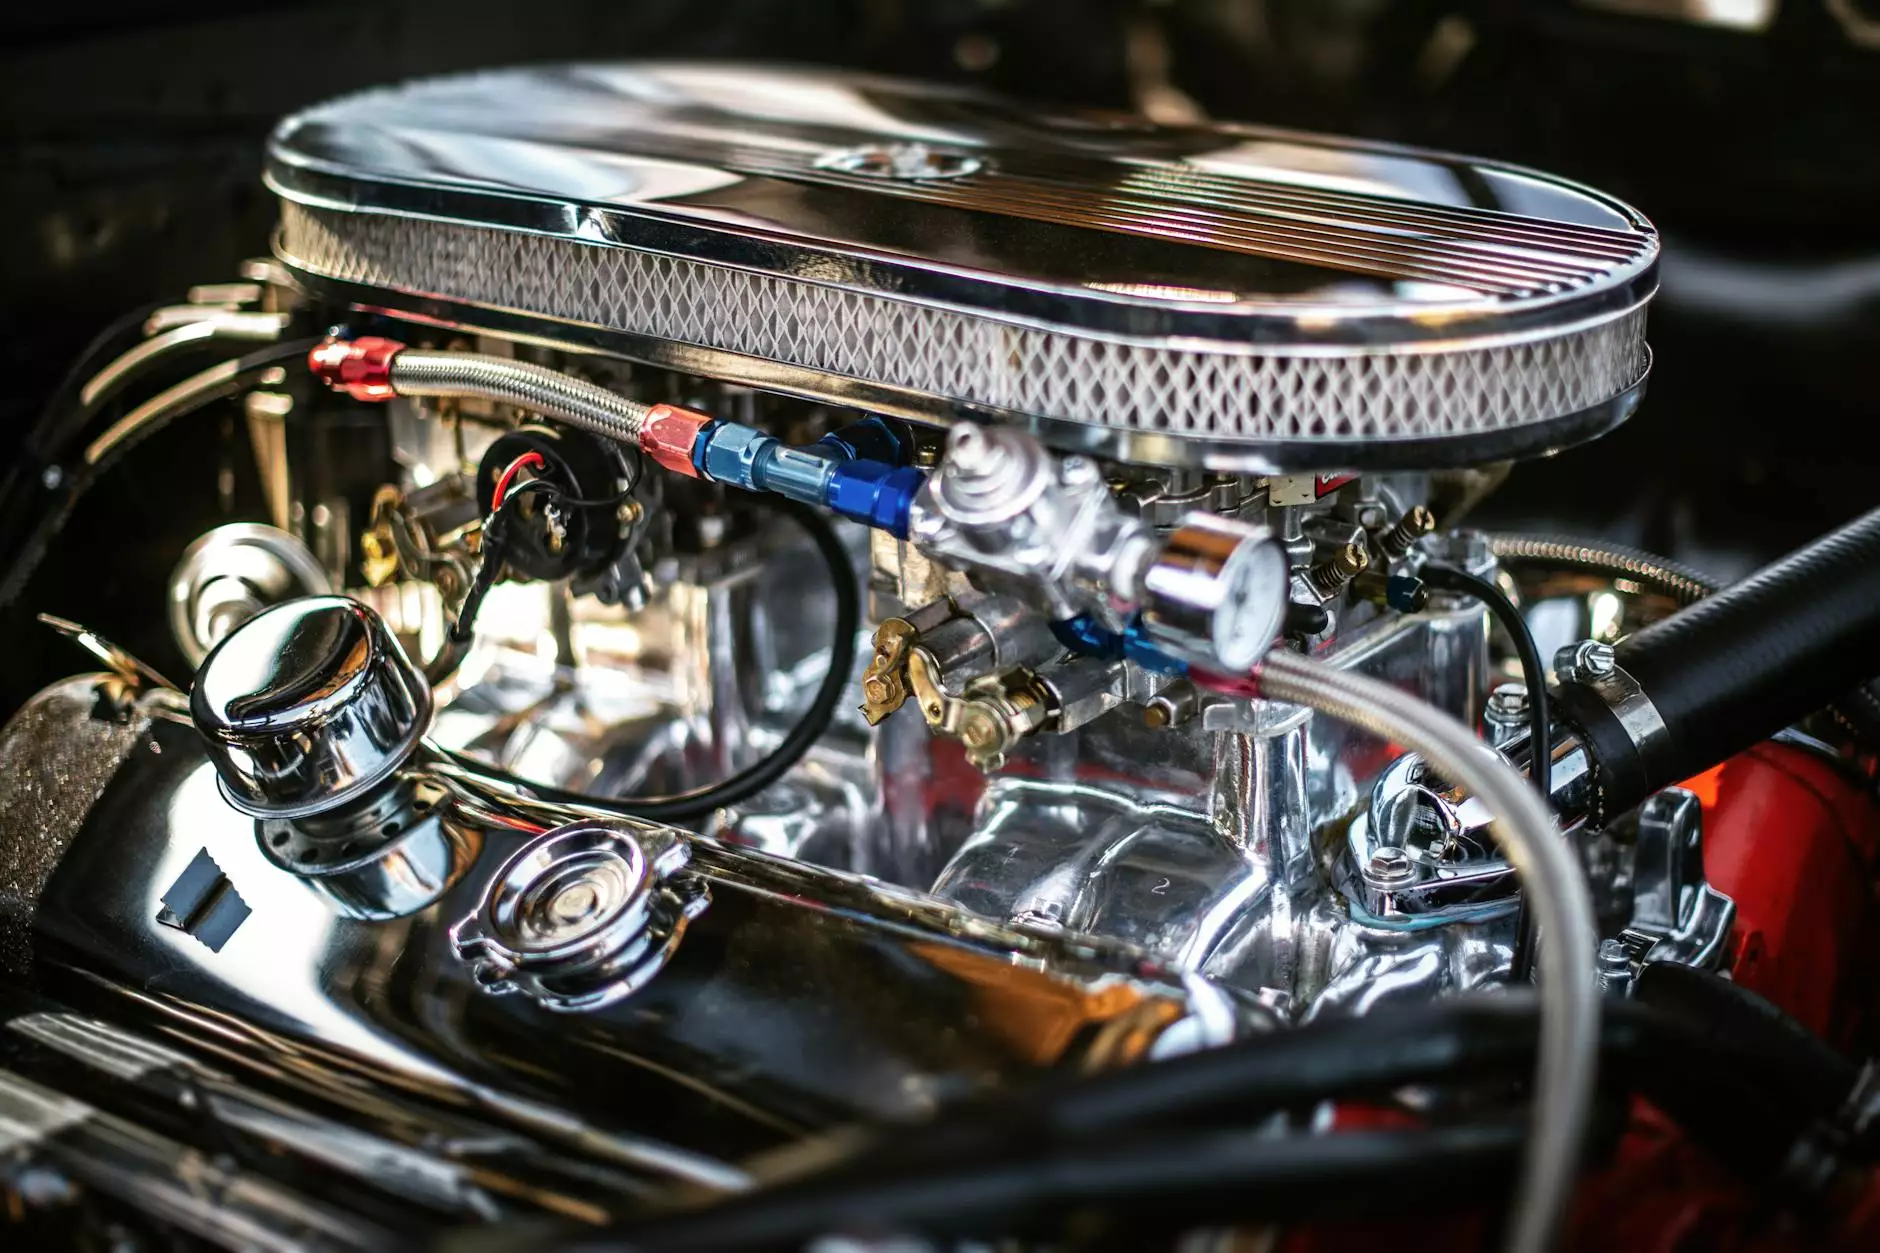
Introduction
Welcome to Grafco Electric's comprehensive guide on master cylinder removal, bench bleeding, and replacement. If you are experiencing issues with your vehicle's braking system, the master cylinder could be the culprit. In this detailed guide, we will walk you through the step-by-step process of removing and replacing a faulty master cylinder in order to restore proper braking function.
Understanding the Master Cylinder
The master cylinder plays a crucial role in your vehicle's braking system. It is responsible for generating hydraulic pressure that activates the brake calipers or wheel cylinders, thus allowing your vehicle to come to a stop safely. Over time, master cylinders can wear out or develop leaks, leading to a loss of brake performance. Proper maintenance and timely replacement are essential to ensure the safety of both you and your passengers.
Step-by-Step Guide: Master Cylinder Removal
Step 1: Gather the Necessary Tools
Before starting the removal process, make sure you have the required tools and materials on hand. You will typically need:
- Socket set
- Brake fluid catch basin
- Brake line wrench
- Shop towels
- Brake fluid
Step 2: Prepare the Vehicle
Ensure that your vehicle is parked on a level surface and the parking brake is engaged. Open the vehicle's hood and locate the master cylinder reservoir. It is usually located on the driver's side near the firewall. Clean the area around the reservoir to prevent contamination.
Step 3: Remove Brake Fluid
Using a clean syringe or turkey baster, carefully remove the brake fluid from the reservoir. Transfer this fluid to a proper disposal container. It is important to use a clean container to prevent contamination.
Step 4: Disconnect Brake Lines
Loosen the brake line fittings using a brake line wrench. This will allow you to disconnect the brake lines from the master cylinder. It's important to use the correct size wrench to avoid damaging the fittings. Take note of the orientation of the brake lines for reinstallation.
Step 5: Remove Master Cylinder Retaining Bolts
With the brake lines disconnected, locate and remove the retaining bolts that secure the master cylinder to the brake booster or firewall. Use a socket set to carefully remove these bolts. Once the bolts are removed, you can gently pull the master cylinder away from the vehicle. Be mindful of any wiring or connection that may be attached to the cylinder.
Bench Bleeding the New Master Cylinder
Once the old master cylinder is successfully removed, it's essential to bench bleed the new master cylinder before installation. Bench bleeding removes any trapped air from the system, preventing spongy brakes or reduced braking efficiency. Here's how:
Step 1: Secure the Master Cylinder
Using a vise or a bench-mounted cylinder holder, secure the new master cylinder in an upright position. This will allow you to work on the cylinder without it moving around.
Step 2: Install Bleeder Kit
Attach a bleeder kit to the master cylinder's outlet ports. The bleeder kit should include clear plastic tubing that connects to the outlet ports and fits securely over the bleeder screws.
Step 3: Fill the Reservoir
Pour fresh brake fluid into the master cylinder reservoir until it reaches the maximum fill line. Be sure to use the manufacturer's recommended brake fluid for your specific vehicle.
Step 4: Bleed the Master Cylinder
Using a screwdriver or your fingers, slowly depress and release the master cylinder piston. This action will force brake fluid through the outlet ports and into the clear plastic tubing attached to the bleeder screws. Make sure to perform this step until all air bubbles are eliminated, and clean brake fluid flows through the tubing.
Step 5: Complete the Bleeding Process
Once the master cylinder is fully bled, carefully remove the bleeder kit. Wipe away any excess brake fluid from the master cylinder and reinstall the reservoir cap.
Installing the New Master Cylinder
Now that you have successfully bench bled the new master cylinder, it's time to install it into your vehicle. Follow these steps:
Step 1: Position the Master Cylinder
Gently position the new master cylinder in the same location from which you removed the old one. Ensure all mounting holes align correctly.
Step 2: Secure the Retaining Bolts
Reinsert and tighten the retaining bolts that secure the master cylinder to the brake booster or firewall. Use a socket set to ensure the bolts are securely fastened.
Step 3: Reconnect Brake Lines
Reattach the brake lines to the correct fittings on the new master cylinder. Tighten the fittings with a brake line wrench, ensuring they are securely fastened and leak-free.
Step 4: Refill the Reservoir
Pour clean brake fluid into the master cylinder reservoir until it reaches the maximum fill line. Be cautious not to overfill. Refer to your vehicle's owner manual for the correct brake fluid specification.
Step 5: Bleed the Brake System
With the new master cylinder installed, follow the brake bleeding process to remove any air from the brake system. Start from the brake line farthest from the master cylinder and work your way closer, bleeding each brake caliper or wheel cylinder until all air is expelled. This will ensure optimal brake performance.
Conclusion
Congratulations! You have successfully learned the process of master cylinder removal, bench bleeding, and replacement. By following these detailed instructions, you can confidently repair or replace a faulty master cylinder and restore the braking performance of your vehicle. Remember, brake system maintenance is crucial for the safety and well-being of everyone on the road. If you encounter any difficulties or are unsure about any step in the process, it is always recommended to consult a professional mechanic or seek assistance from a trusted automotive service provider like Grafco Electric.


